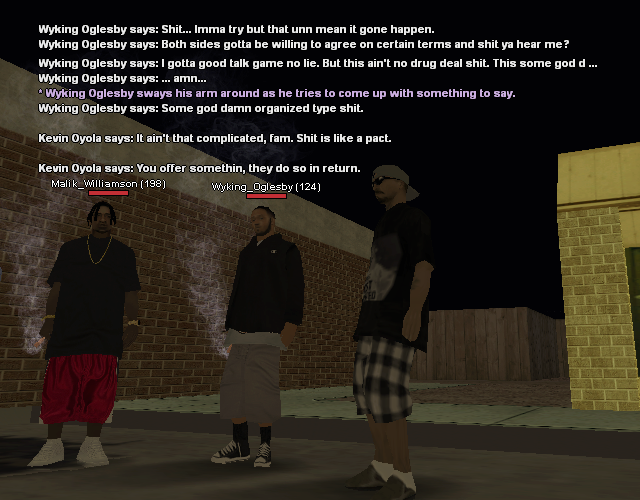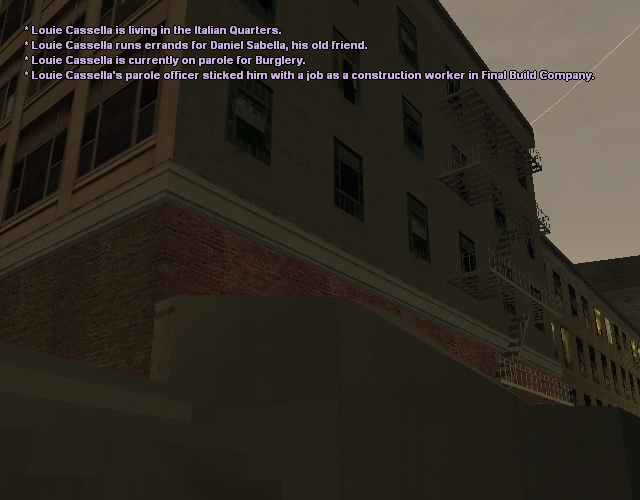
*Note: This was a guide on LSRP's forum a long time ago, and I discovered it in the archive, and I have been following it ever since. So, all the credit for the content goes to @smallz, I am just reviving his guide.
Alright so, this is an easy guide on how to make your text look like it was imported straight from GTA using the /blindfold method.
1. Import your images in photoshop.
2. Get the text image and use the crop tool to crop the text only.
https://www.upload.ee/image/6005825/1.PNG
https://www.upload.ee/image/6005827/2.PNG
3. Use the magic wand tool and set the options on the top like the picture shows.
https://www.upload.ee/image/6005828/3.PNG
https://www.upload.ee/image/6005830/4.PNG
4. Click on the black and press 'Delete' on your keyboard.
https://www.upload.ee/image/6005831/5.PNG
5. Duplicate the layer 4 times, using the 'Ctrl + J' function.
6. Use the method like shown in the picture to colorize the duplicated layers, make sure that they all are black except the original one.
https://www.upload.ee/image/6005832/6.png
7. Move the duplicated layers below the original one, having the original one (colorful) infront.
https://www.upload.ee/image/6005834/7.PNG
8. Click on duplicated layer 1 and move it up for one pixel (press the up arrow once).
https://www.upload.ee/image/6005838/8.PNG
9. Do that with the rest of the duplicated layers, except move one down, one to the left and the last one to the right, doing that you achieve the outline of the text.
https://www.upload.ee/image/6005839/9.PNG
10. Merge all the layers together (select all the layers, then click the 'Merge all layers' function) and there you have it, GTA text.