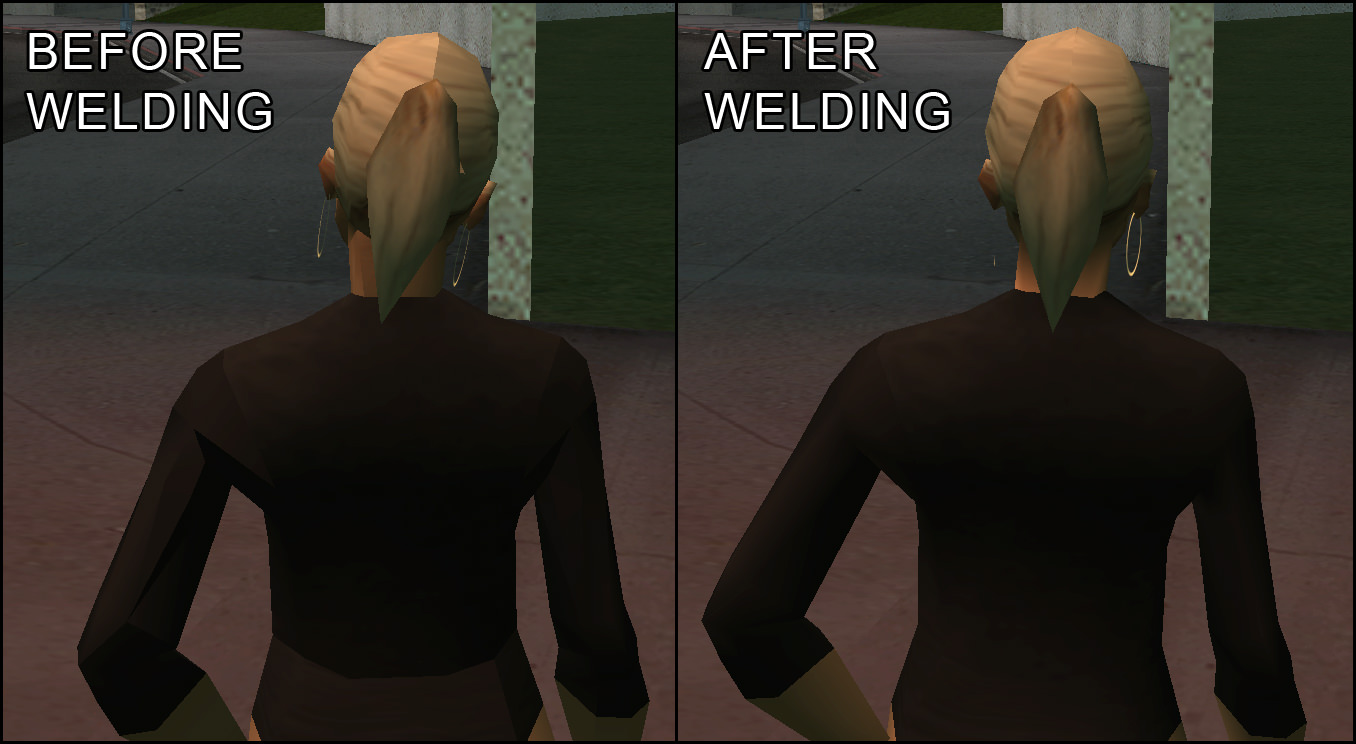
Are you a modder with some experience and knowledge behind your back that wants to learn more, but finds 3ds intimidating? Do your skins look cool, but often end up bugged or just unfinished? That's okay, you're at the right place, because today I'm gonna teach you three aspects of welding that may very well help you.
1. Welding a bunch of vertexes via polygon creation
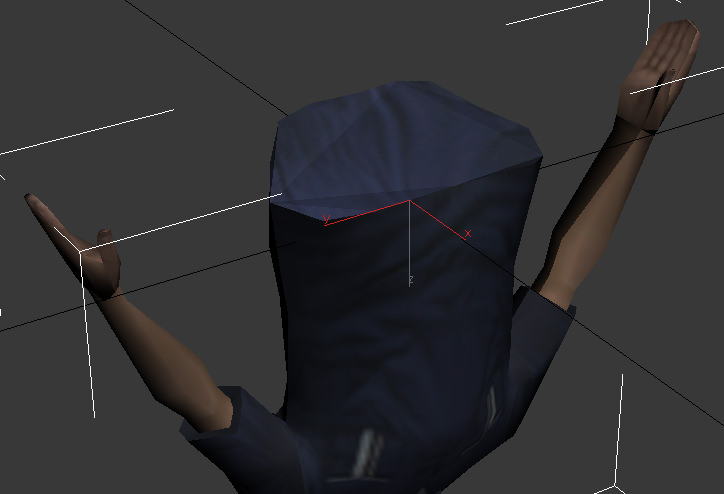
We've all experienced it - you attach a head, delete the old one, and boom it turns out there's a hole on the damn model. Obviously, that can happen when playing around with all objects, not just heads - if you delete the lower part of a model's jeans in an attempt to shorten them then you'll most likely be left with a hole on each leg. In this section of the guide I'll tell you how you can fill up such holes. Let's say we have the upper part of a body whose bottom is actually a hole:
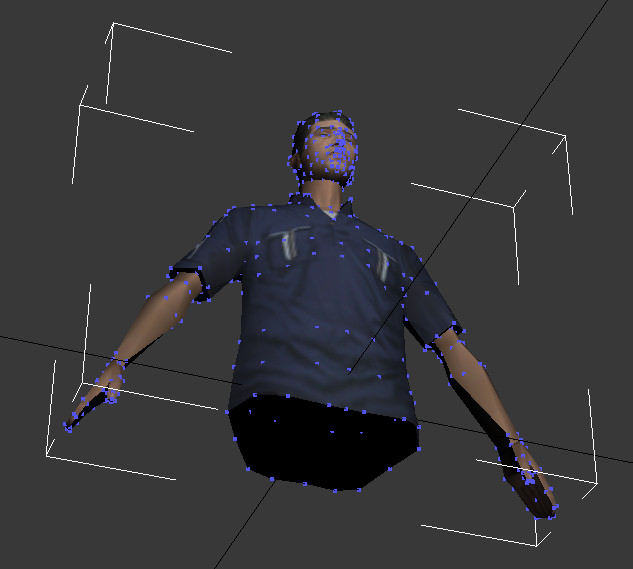
Go to "Editable Mesh", select the vertex tool and then right-click somewhere on the screen. From the menu you're presented with, click "Create Polygons". Afterwards, begin left-clicking the vertexes between which you'd like to create a polygon.
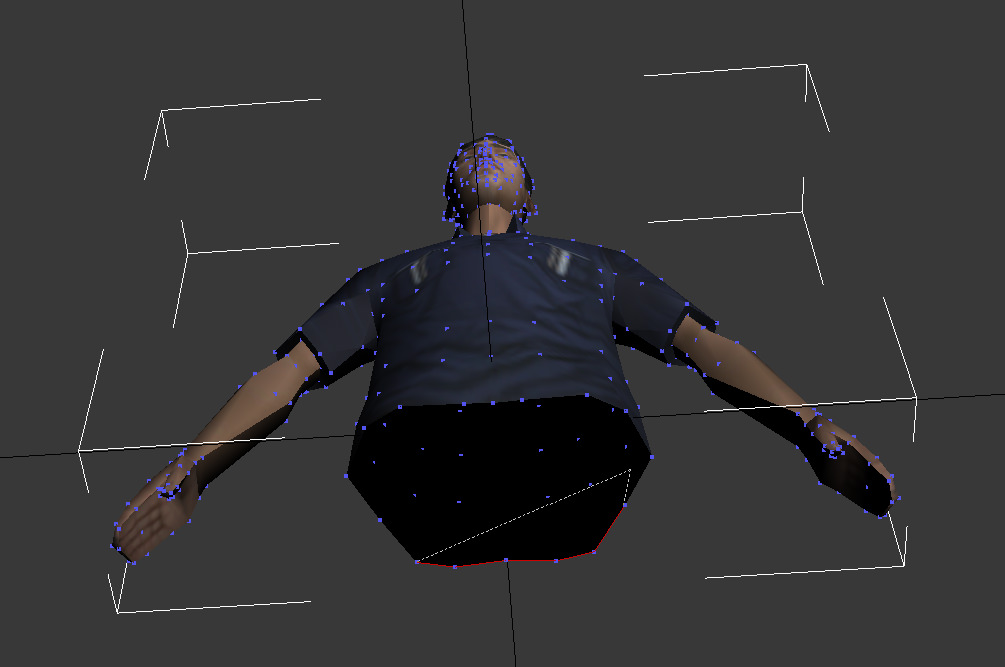
It will take some time and practice to get it right. Click on the middle mouse button to stop the process and then reverse if you ever run into a problem. The final vertex that you're going to select in this phase is the one you started with - once you do that, your polygon(s) should be created successfully.
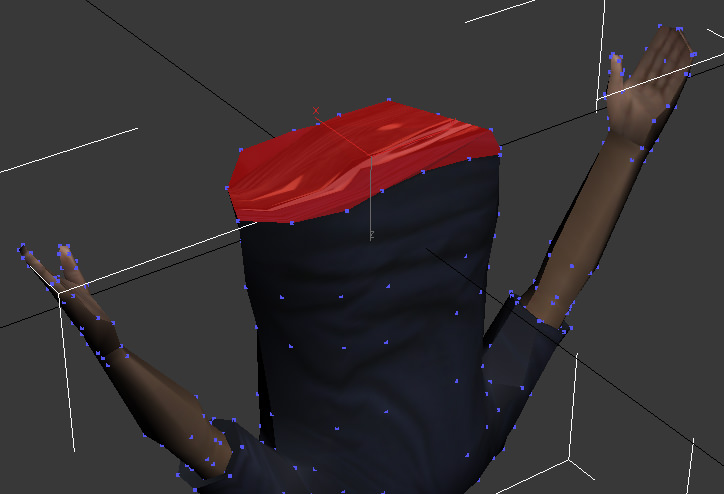
Obviously, the newly created polygon(s) won't have proper UVW Mapping, so select them and do what you have to do through the UVW Unwrap modifier - I highly suggest using the Relax tool once there. That's pretty much it. Note that if for some reason your newly created polygon(s) appear to be fully black and or invisible (while they shouldn't), then that means you have to flip them over - select them, go to the tool bar on the right, scroll down and press "Flip" in Surface Properties. That's all.
2. Welding two or more vertexes together manually
Let's say you recently attached a new head to your skin. The vertexes of the head's neck happen to match the ones of your shirt's collar, so you want to combine them instead of filling up the hole on the shirt. How do you do that? Simple. First, select two vertexes that are close to each other.
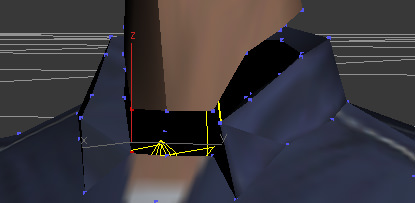
Then, go to the right tool bar and scroll down to the "Weld" section - there will be a button with "Selected" written on it and a text box beside it with "0.1". Press the "Selected" button. Once you do that, the two vertexes will attach to one another perfectly. Here's how it will look:
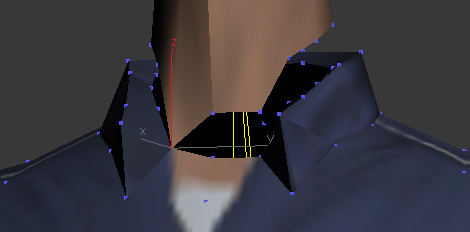
After that, all you have to do is weld all the other vertexes together. Of course, once you're done you can move the head around using the vertex tool until you're satisfied. Actually, there are many other applications for this method, and it's very fun to use - you can combine any number of vertexes, just be creative.
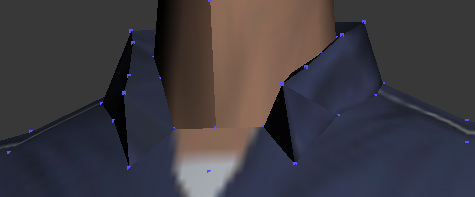
In the event that the amount of neck vertexes don't match those of the collar, the best way to go on about filling the gap would be to reduce the amount of vertexes on whichever side has more. Let's say your neck has 6 vertexes but your collar has 7, you can weld 2 of the collar's vertexes together to form only 1 -- meaning, you'd be left with an equal amount of vertexes on each side, albeit you might need to use the move tool afterwards to make sure everything looks okay. Alternatively, you can also just fill up the shirt hole with polygon creation -- that works as well.
3. Welding an entire skin in order to make it as smooth as a default GTA:SA model
Select your skin and press "Editable Mesh", then choose the vertex tool. Select all of the skin's vertexes, either via drag box or CTRL+A. Go to the right tool bar and scroll down until you see a section named "Weld" - there will be a button with "Selected" written on it and a text box with "0.1" inside. Change the "0.1" to "0.0001" and then click the "Selected" button. Make sure you weld entire skins only after finishing them, because changing things on a skin that has already been fully welded may be difficult - keep backups of your projects, don't weld the whole thing until you're 100% sure that your skin is complete and ready for use. This method works best on low-poly skins.