Surprisingly enough, working with weapons is a hundred times easier than with skins. Today I'll walk you through how I made my first firearm mod in under 5 minutes, so that you can try this stuff out on your own.
Okay, first thing's first, we import the .dff into 3ds Max. We enter the Kam's Script DFF IO panel, go to Import DFF, and do what we've always done - we tick the A and .png buttons, then hit Import DFF. Select and then import your file.
Apply your textures, I'll tell you the way how I like to do it: Press F10, then Render. You'll be prompted with a Missing External Files window, press Browse then Add, and enter the folder in which you've exported your textures in .png format. Press Use Path, then OK, OK again if you're prompted with another window, and then Continue. Close both of the recently opened windows, then click on the gray screen where your mod is. Press M, then on the upper panel panel of the window press Material, Show Materials in Viewport As, and then Standard Display with Maps. Sounds complicated, I know, but it's actually very easy, and is better than any other method out there like dragging and dropping. If you practice this long enough you'll be able to do it in less than 10 seconds.
Now onto the real stuff. We should have our model ready and textured. I imported an AK-47, so this is how it would look:
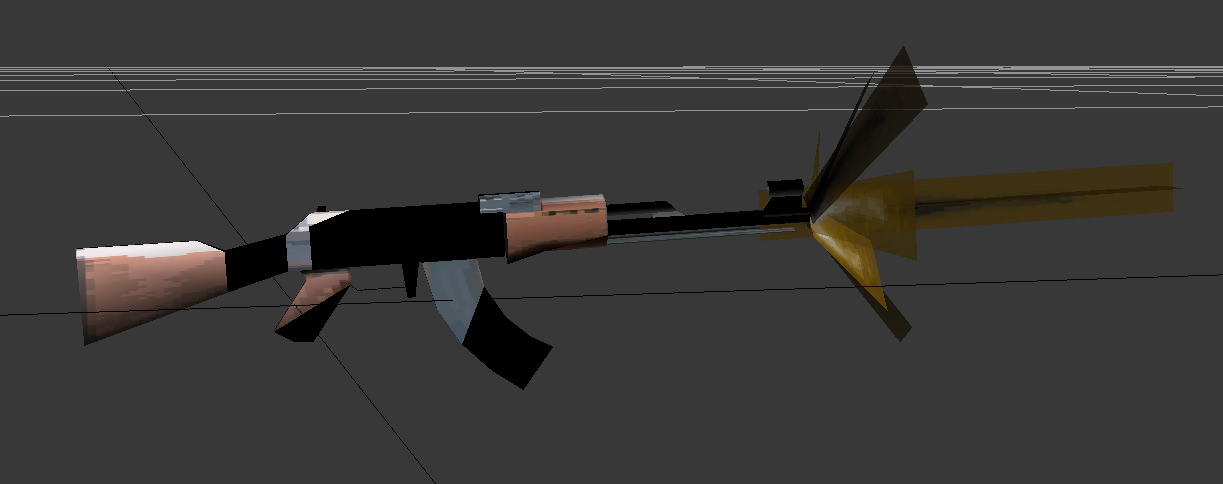
Seems weird right, with all the black spots and all? That's okay, don't worry.
Now, there are two things you'll need to know, firearm .dff's actually feature two models in them. One is for the muzzle effect, while the other is for the weapon itself. We don't need to modify the muzzle effect (practically nobody needs to), so we're just going to ignore that part.
Now is the time where we apply our changes to the weapon. This is the default AK-47 you're seeing on the pictures - I've always liked shorter ones though, so we're going to shorten the model in this case. I don't know what you want to modify on your firearms, but I assume pretty much all methods that work on skin mods work fine on weapons too. Things like UVW Unwrap and so on. Do your own thing.
I select the back of the AK-47 and then delete it.
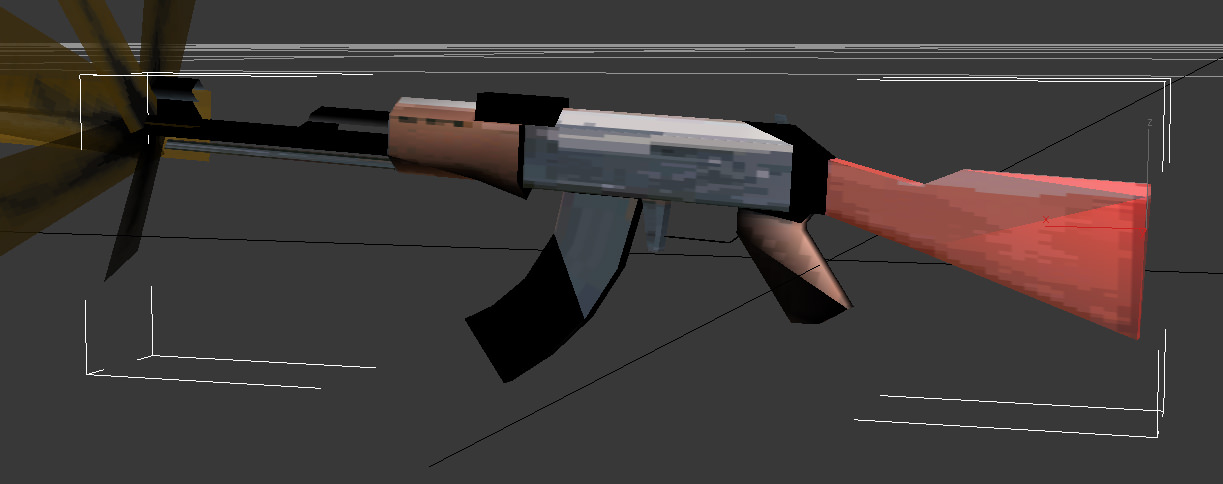
Obviously, a hole appears, so we fill that up with polygon creation. Doesn't take more than 30 seconds.
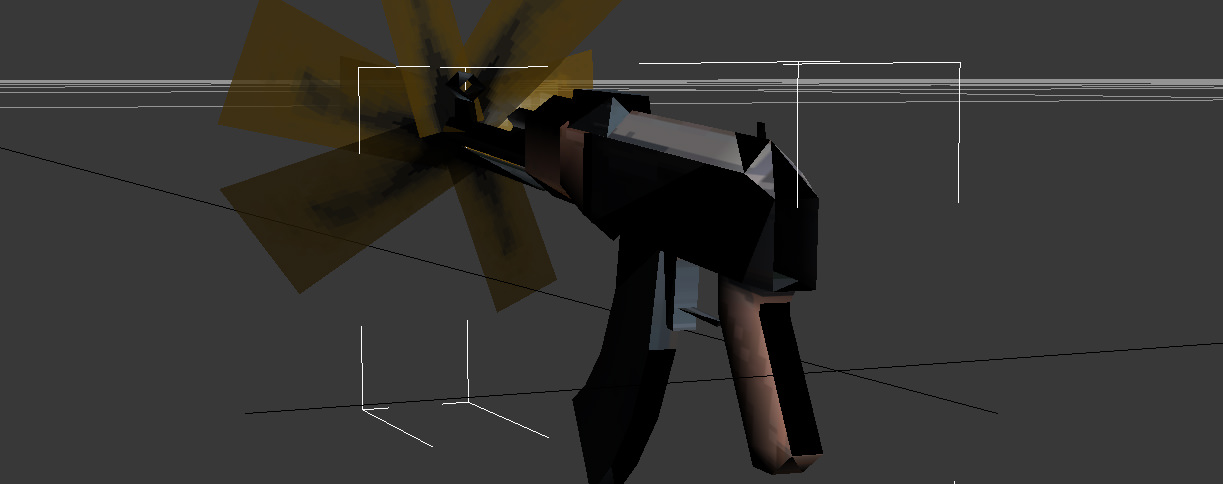
You can learn how to do that here: https://forum.bayarearoleplay.com/topic/1050-welding-in-3ds-max-2010/
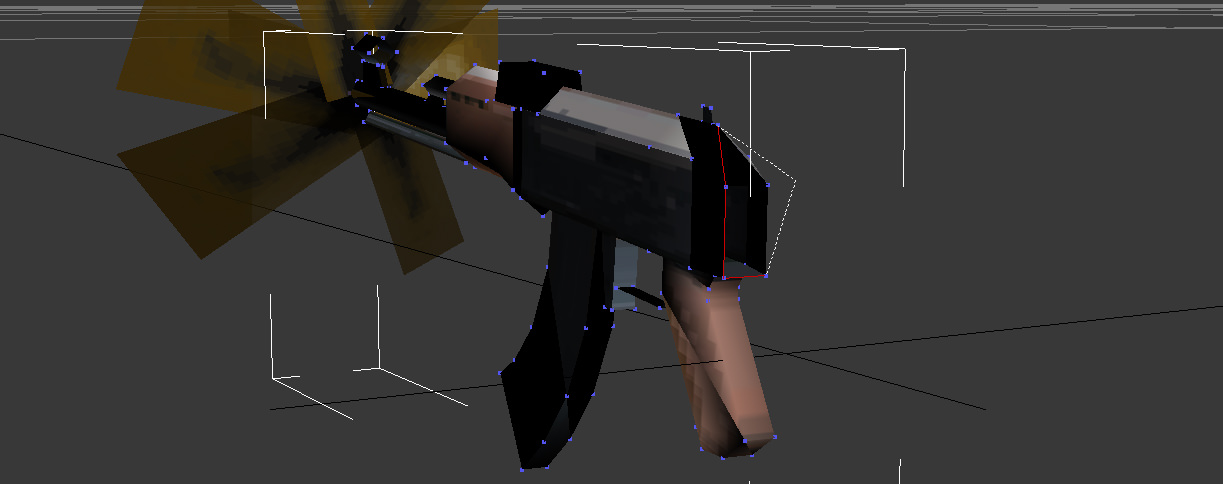
And we're done with modifying the weapon:
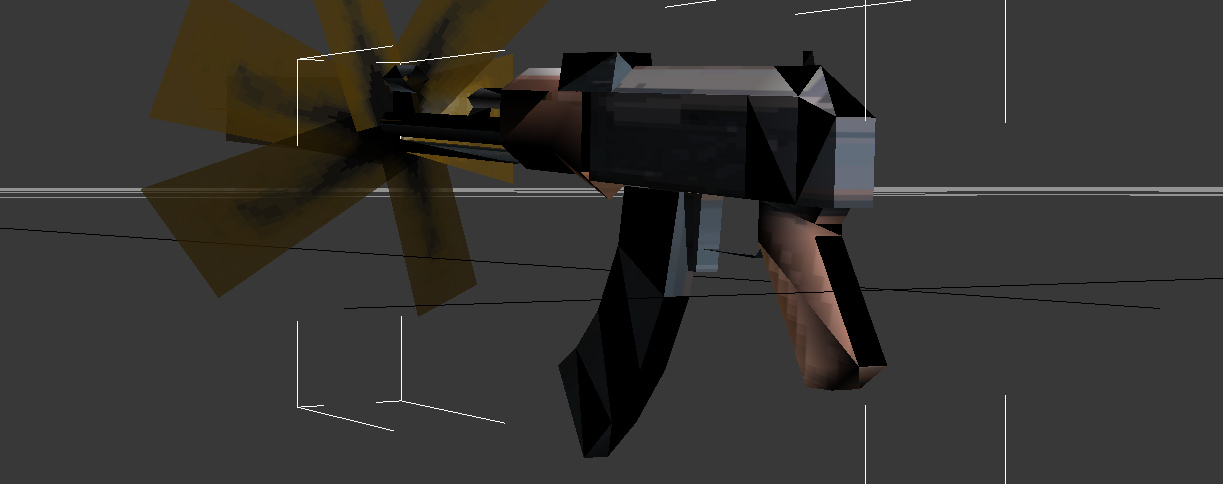
Now we have to export it. Select the weapon model (not the muzzle effect) and go to Kam's Script's DFF IO. Under Export DFF, tick Skip Col and then hit Export DFF.
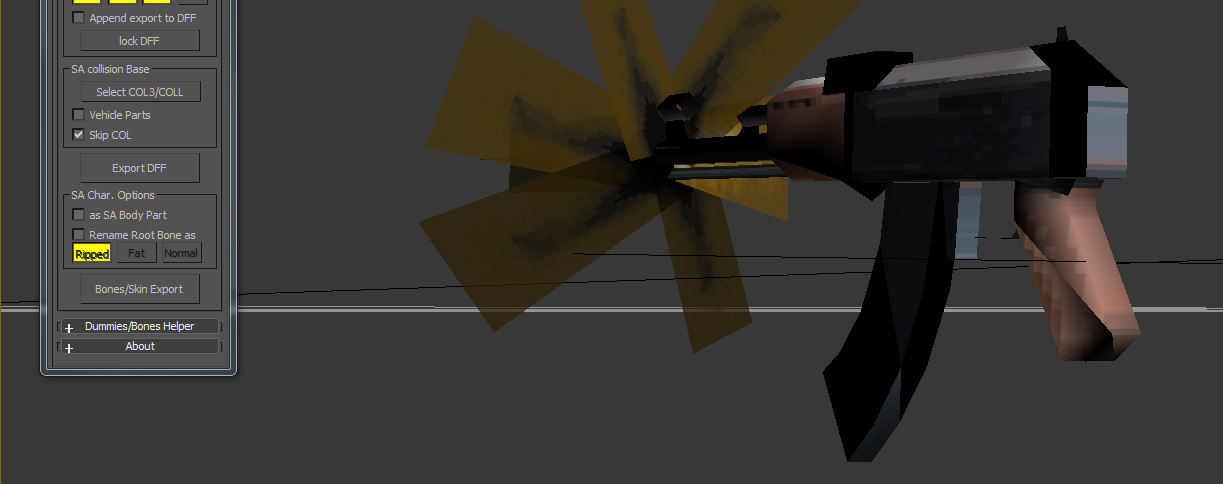
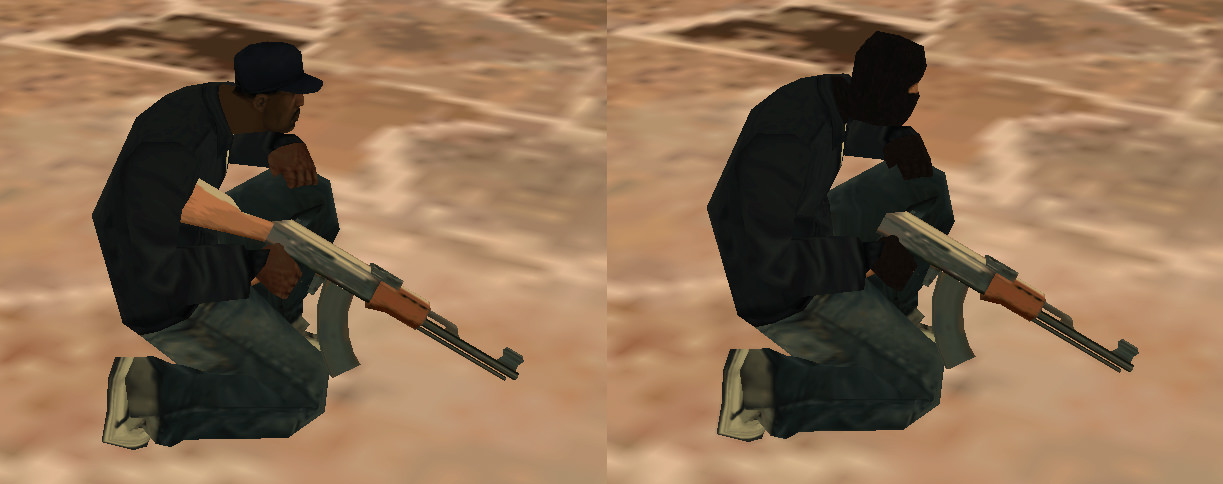
Col stands for Collision, by the way. Anyway, we're done with the mod, so all we have to do is test it out in-game to see if it works. Here's an in-game picture with before and after, ignore my shape-shifting skin though:
Melee weapons are modified and exported in a similar fashion. I hope you enjoyed the guide, have fun making mods!